Automations Overview
Automations let you chain ClientCove actions into a workflow that runs by itself — on a schedule, on demand, or triggered by your AI assistant. Think "every Monday at 9am, create a check-in task for each active client" or "when I tell Claude to run onboarding, create the project and reply to the ticket."
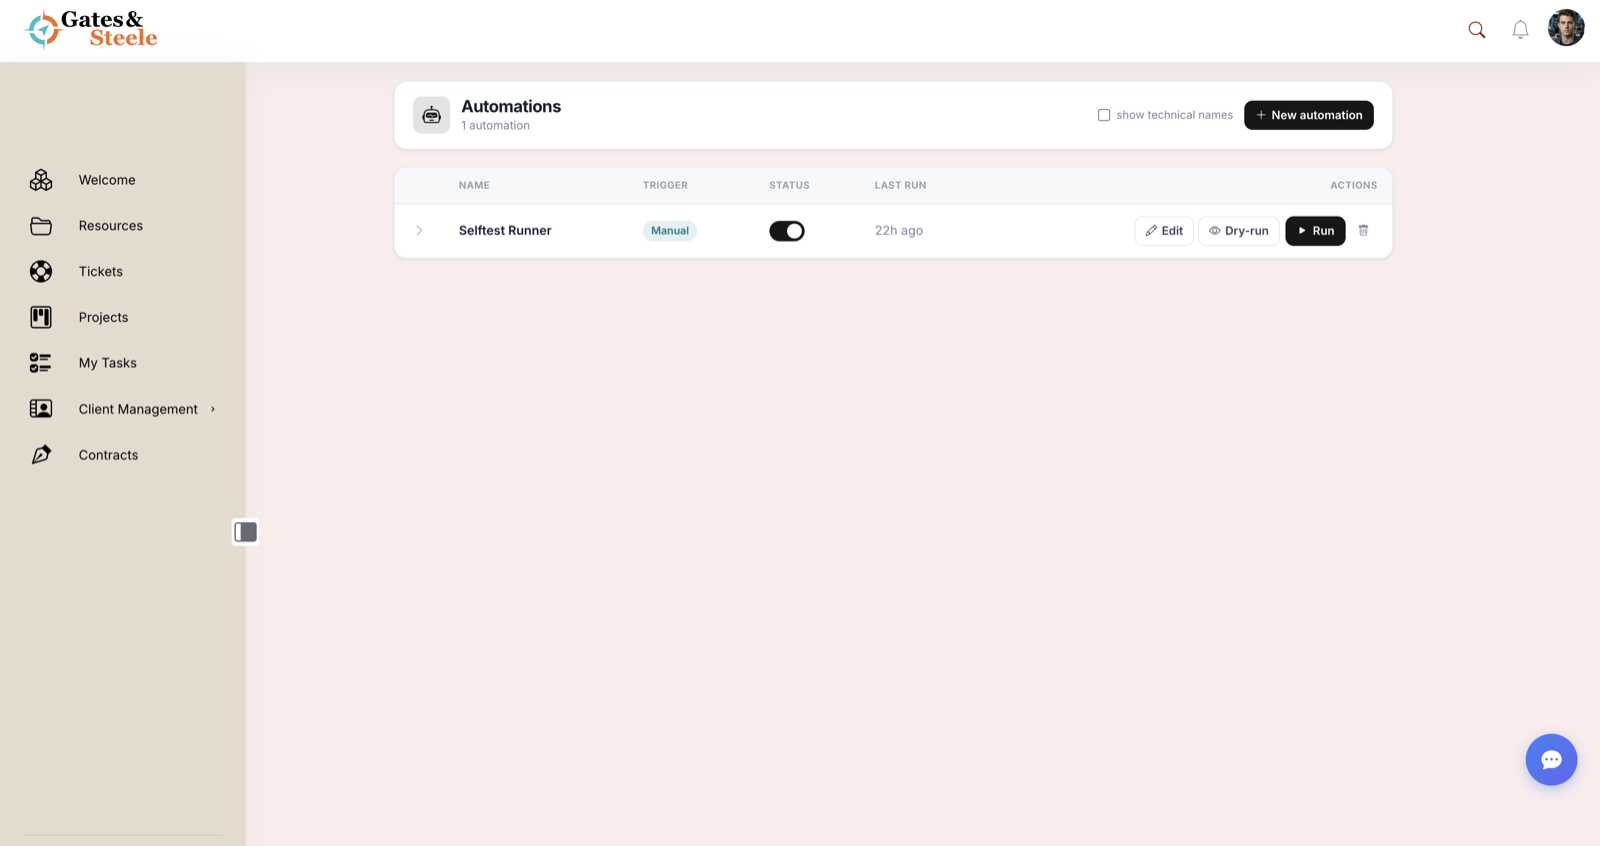
The Automations list — each workflow with its trigger, status, and run controls.
What Automations Are
An automation is a named, saved workflow made of three parts:
- A trigger — what starts it (a schedule, a manual click, or your AI assistant).
- Conditions (optional) — guards that decide whether the automation, or an individual step, should run.
- Actions — an ordered list of steps. Each step runs one tool: create a task, reply to a ticket, update a client, send a test email, and so on.
The actions come from the same tool catalog that powers the MCP integration — so anything your AI assistant can do, an automation can do unattended.
Admin feature. Automations are an administrator-only tool (it requires the WordPress manage_options capability). Staff and client users don't see the Automations page. Each automation runs as the administrator who created it, with that user's permissions.
Where to Find It
Open /automations/ on your portal (the page is created automatically the first time an administrator visits it). You'll land on the Automations list — every workflow you've built, with its type, status, run count, and last/next run time.
There's no feature flag to flip — the automations engine is active on every portal running v2.59.10 or later.
How an Automation Is Built
You build automations in a visual editor. The flow is always the same:
- Name it — give the automation a clear title (e.g. "Weekly client check-in").
- Pick a trigger type — Manual, Scheduled, or (coming soon) event-based.
- Add conditions (optional) — only run when the incoming data matches, e.g. Client is Acme or Amount is over 100.
- Add action steps — choose a tool for each step and map its inputs. Drag to reorder.
- Save, then enable it.
See Building an Automation for the full walkthrough, and Triggers, Conditions & Actions for the complete reference of what's available.
Trigger Types
| Type | UI label | Status | What starts the run |
|---|---|---|---|
| Manual | "Manually / from Claude" | Live | You click Run in the list, or your AI assistant calls run_automation. |
| Scheduled | "On a schedule" | Live | A recurring time — hourly, daily, weekly, or monthly. |
| Event | "When something happens" | Coming soon | A portal event such as a new client or a newly opened ticket. Listed in the editor but not yet active. |
Event triggers are on the roadmap. You may see "When something happens" options (new client, ticket opened, intake submitted, marketplace purchase) in the trigger picker. The wiring for these isn't live yet — for now, build automations around the Manual and Scheduled triggers.
The Automations List
The list view is your control panel. Each row shows:
| Column | Meaning |
|---|---|
| Title | The automation's name |
| Type | Manual / On a schedule / When something happens / From Claude |
| Status | A toggle to enable (publish) or disable (draft) the automation |
| Run count | How many times it has run |
| Last run | A relative timestamp (e.g. "2h ago", "just now") |
| Next run | For scheduled automations only — when it fires next |
Per-row actions let you expand to see the full configuration, Run it immediately, Dry-run it to preview every step without making changes, toggle it on or off, and delete it.
Safety & the Destructive Gate
Steps that change data — create, update, reply, complete, delete — are marked destructive. When an automation runs unattended (on a schedule), those steps only fire if you've ticked "Allow destructive steps to run unattended" on the automation.
This is a deliberate safety brake: a brand-new scheduled automation won't silently start creating records until you've explicitly opted in. Read-only steps (get, list) always run.
Every run — live or dry — is recorded with its trigger, the user it ran as, and the outcome of each step, so you can always see what an automation did and when.
Preview before you trust it. Use Dry-run on any new automation first. It executes the full logic — conditions and all steps — but skips the actual tool calls, returning a plain-English preview of what would happen. Nothing is created or changed, and run counters aren't bumped.