Adding & Creating Resources
The Resources section is ClientCove's built-in Digital Asset Manager (DAM). Use it to share files, write portal-only articles, build FAQ knowledge bases, publish brand color palettes, present image galleries, or embed web apps for your clients.
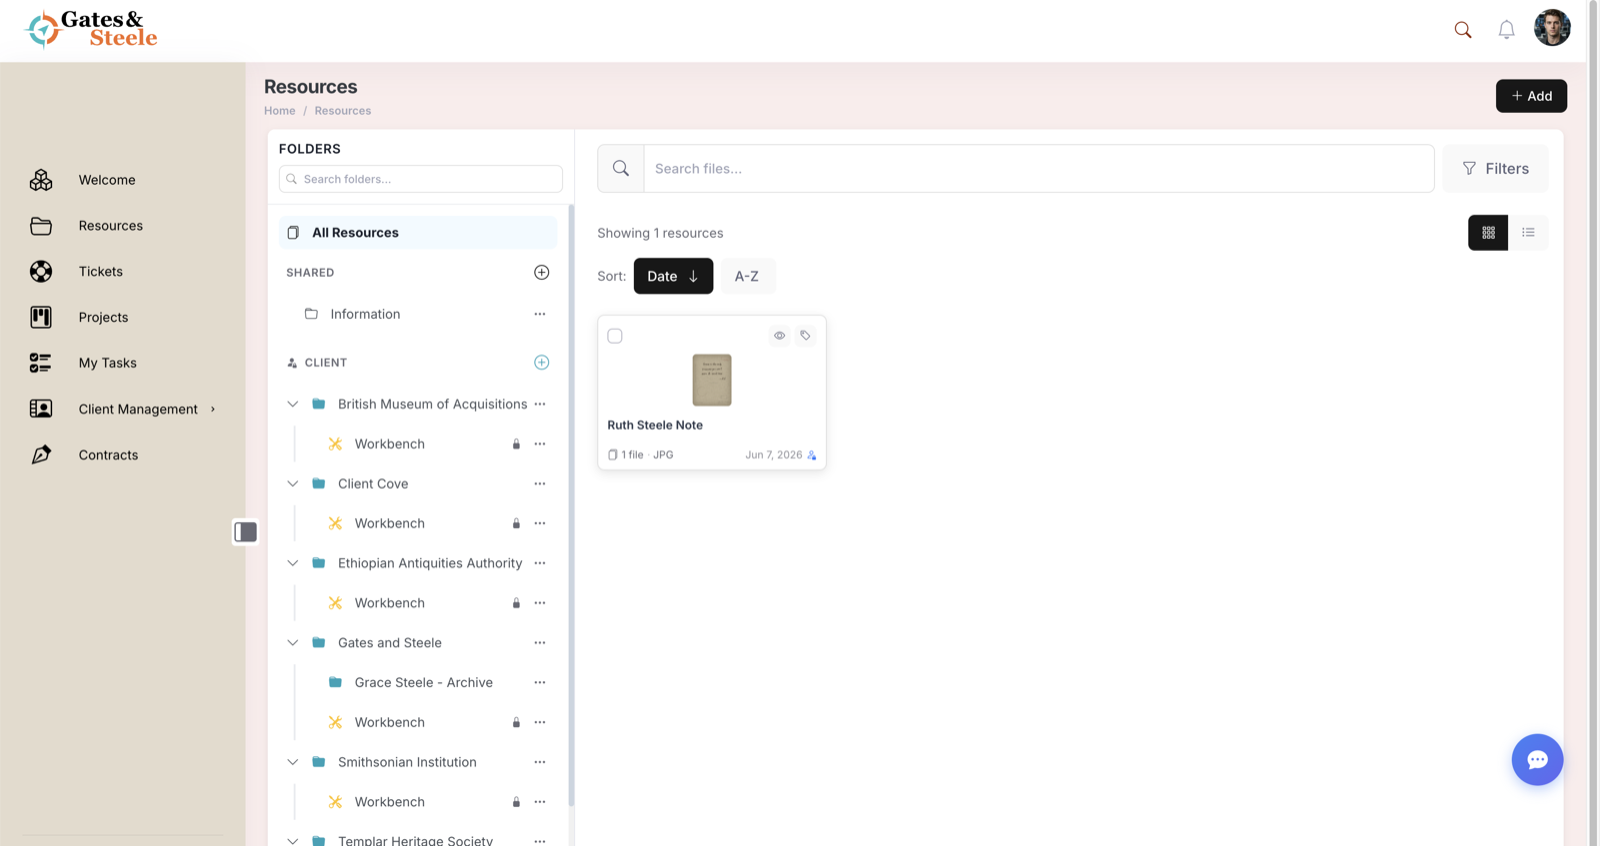
The Resources library: shared folders, per-client workbenches, and resource cards.
Resource Types Overview
When you create a resource you must pick one of seven types. The choice controls how the resource is displayed publicly and which editing tools are available.
| Type | Best For | Public View |
|---|---|---|
| Single | One file (PDF, image, doc, video) | File preview + download |
| Grouped | A bundle of related files (e.g., a brand kit) | List of files with per-file download + ZIP all |
| Post | Long-form written content with sections + table of contents | Article layout with side TOC |
| FAQ | Question/answer accordion sections | Sectioned accordion |
| Color | Brand color palette | Swatch grid with names, hex codes |
| Gallery | Image gallery | Lightbox-enabled grid |
| App | Embedded web app or widget | Full-bleed embed |
Opening the Add Resource Modal
- Click Resources in the left sidebar
- Click the Add button in the top-right toolbar
- The Add Resource modal opens
The Add button is only visible to users with the appropriate edit permissions (Administrator, Editor, or any role with upload_client_resources).
Step-by-Step: Creating a Resource
Step 1 — Title
Enter a title for the resource. This becomes the post title and is used in the public URL slug. Required.
Step 2 — Resource type
Pick the type. The form below adapts to your choice:
- File-based types (Single, Grouped, Gallery) reveal a drag-and-drop upload zone
- Post / FAQ / Color / App skip uploads and proceed straight to folder selection
Step 3 — Upload files (file-based types only)
Drag files onto the dropzone, or click browse to pick from your computer. The progress panel shows per-file upload status with cancel buttons.
For Grouped and Gallery resources you can upload many files at once and reorder them later.
Folders drop too — structure and all (v4.0.0+). Dragging a folder from your computer asks whether to Recreate folders (matching portal folders are created, nested subfolders included, and each file uploads into its folder), Flatten (everything lands in the folder you're viewing), or Cancel. See Folders, Workbench & Client Folders for the details.
Step 4 — Folder selection
Pick one or more folders from the searchable picker. See Folders, Workbench & Client Folders for the full breakdown.
Step 5 — Client assignment
Optionally bind the resource to a specific client. Folders that are themselves client-bound will inherit and lock the client value automatically.
Step 6 — Save
Click Create. A toast confirms creation.
Upload Modes
ClientCove chooses upload mode automatically based on your storage configuration:
| Mode | When | Behavior |
|---|---|---|
| Direct upload | Cloud storage (DigitalOcean Spaces, AWS S3, Google Cloud Storage) | Browser uploads straight to the bucket via signed URL — bypasses PHP size limits, ideal for large files |
| Through PHP | Local storage | Files go through wp-admin/async-upload.php, capped by upload_max_filesize (typically ~64 MB) |
See Cloud Storage & Upload Limits for setup and trade-offs.
Folder & Client Selection
When you select a single client and no folder, the system auto-selects that client's Workbench folder so files don't accidentally publish to a client-visible location. This is intentional — Workbench folders are private staging areas only staff can see.
You can create a folder inline from the Add Resource modal using the + New Folder option. In the Client Folders section, an extra Client Folder checkbox lets you bind the new folder to the active client.
After Creation
After saving, ClientCove redirects you to the resource's View page so you can confirm the result immediately.
To enter edit mode:
- Click the three-dot menu in the resource toolbar and choose Edit, or
- Append
?cove=runto the resource URL
Releases 2.9.13 and later land on the View page after creation rather than auto-opening the editor. The previous behavior caused confusion because the public-facing result was hidden behind the editor chrome.